Shooting Waterfalls on Film
My trials and tribulations on long exposure with film
Brian Cohoe
6/21/20263 min read

One of the main reasons why I wanted to come to New Zealand was to take photos of waterfalls, and there is a lot of them. I have done my fair share of shooting waterfall long exposures with digital cameras with a good amount of success. At the current moment, I have quite a ways to go to get results that I am happy with.

What is Long Exposure?
Why?
Long exposure photography is when the camera's shutter speed has an extended duration to capture more light. This compensates for night scenes where there isn't a lot to begin with, shooting at a narrow aperture, or a low ISO film.
There are instances where you can artificially cut light through the use of Neutral Density (ND) filters to prevent over-exposure of the medium of choice.
Necessary Things
Tripod. This is the most important part of your kit outside of your camera. I am a fan of lighter tripods with a hook to hold my bag, which adds weight and ensures the tripod won't move. Being able to invert the head so your camera is mounted underneath is handy as well.
Ball Head with an arca-swiss plate. The ballhead let's you change how you frame the camera with relative ease, they're small and lightweight, and can be sturdy.
L-bracket for your camera. I should have bought one of these years ago. By being able to have your camera oriented vertically and the centre of gravity over the ball, so it won't move out of the way. Trust me on this, that's such a pain and it puts undo wear on your equipment.
Remote shutter release. Pressing the button on your camera causes a little shake that will show up on your final project. I haven't found a new camera that let's you set a specific time for long exposure either, where a remote shutter with bulb, you'll be able to go as long as your patience, camera battery, or memory allows.
Optional Things
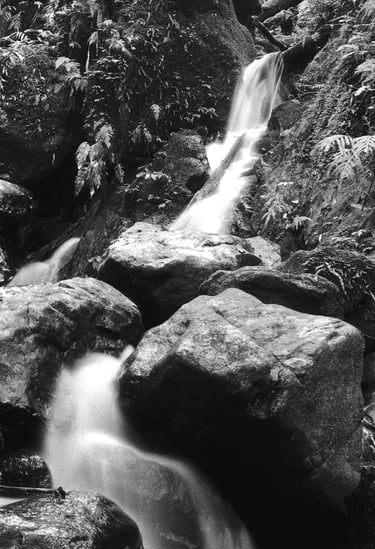
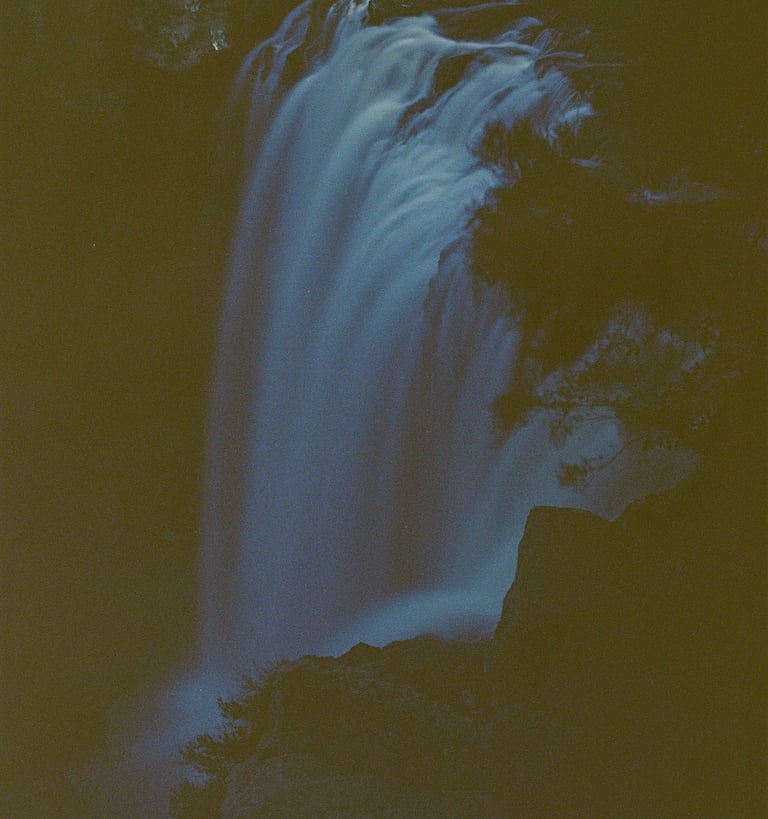
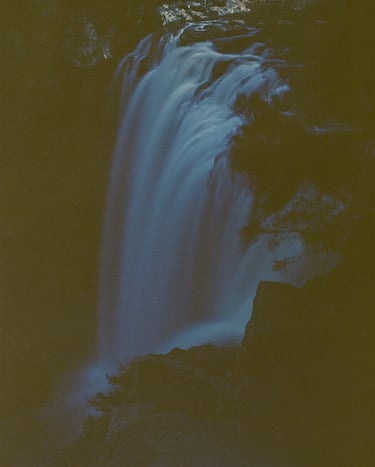
Neutral Density (ND) Filters. These are necessary if you are taking photos during the day. For example, the photo of Kitekite Falls (left), I shot this with a 14 stops of ND filter, f/8, 20 seconds, and 800ISO.
Light Meter. Something I am finding out is more necessary that optional. More on that soon.
What's Needed?
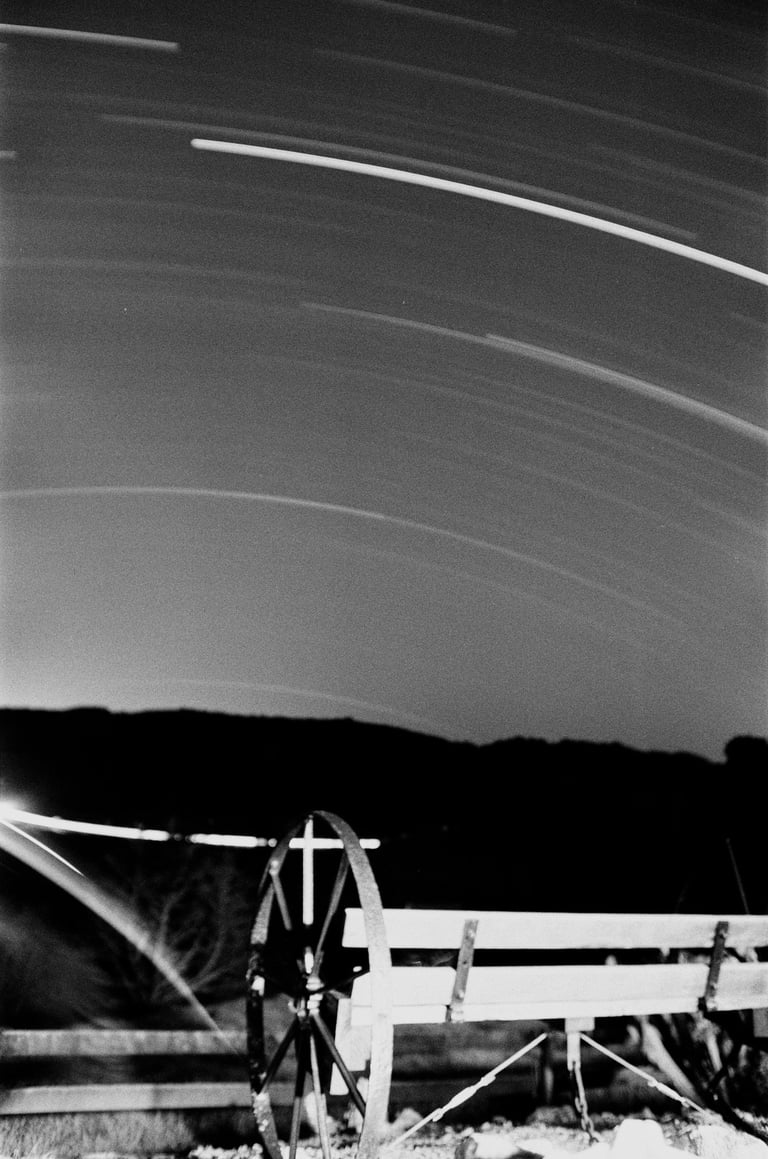
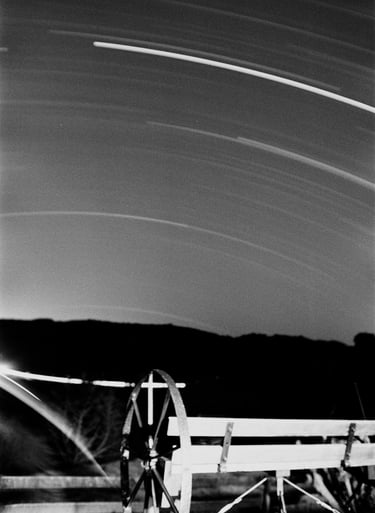
To capture star trails at night to capture the movement of the earth.
If there is a busy spot with lots of people, long exposures can make the place look empty.
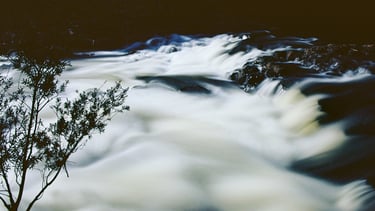
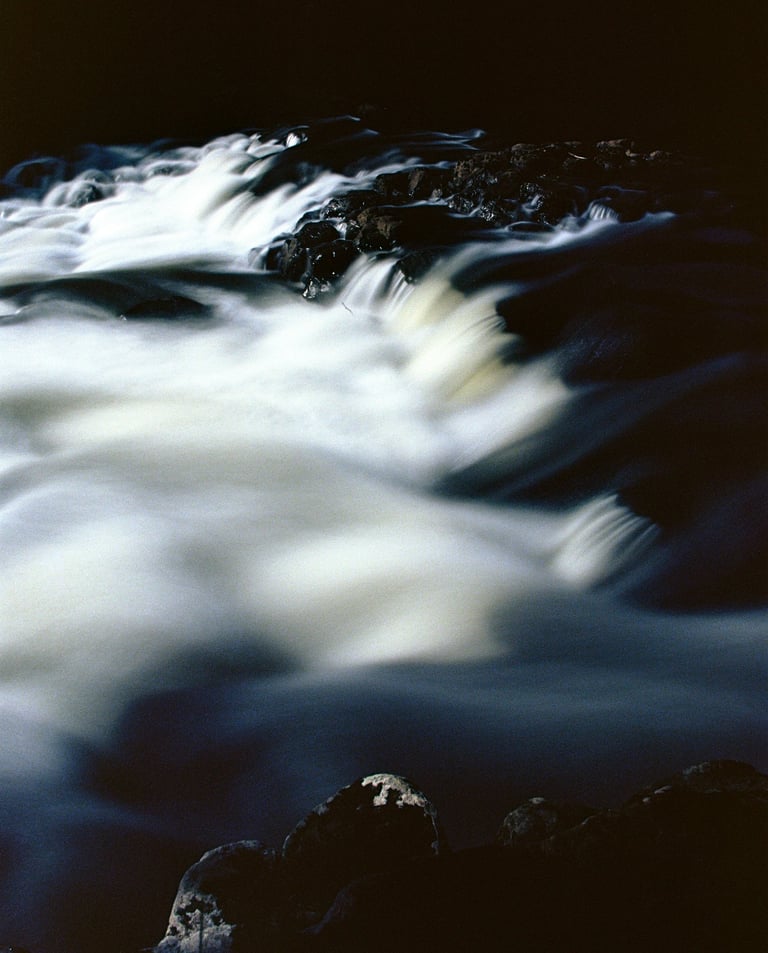
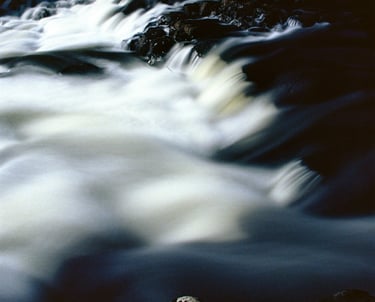
Rivers, oceans, or waterfalls to give a glossy look of the water.
Capturing vehicle lights on busy streets.
and so much more.
Where did I go wrong?
Remember that thing about the light meter being optional?
Yeah.. Not so optional.
I have had the habit of chimping my photos on digital, with the great process of guessing and checking on location. And now that I am looking at these developed photos, I am realizing that I most certainly did not document what I shot these at.
When you meter for light, digital can't be overexposed as the whites completely blow out and cannot save them. Film is the opposite; if you underexpose like what I did here, there's no data to get.
What I should have done is meter for the shadows.
One more thing...
Film reciprocity failure
Cough Ahem, that was weird.
Film reciprocity failure. That is how the film chemicals become less sensitive to light the longer they are exposed to light. Something I thought I had compensated for, and I don't think I did well enough.
Reciprocity failure has the following formula
Corrected time = Metered time ^ P
Where P is the factor. The factors can be found on the film data sheet, or here.